Purchase these products
-
Accoutrements Emergency Googly Eyes
$8.51 -
Darice 349179 All Purpose Tacky Glue-5 Ounces
$1.99 -
Musgrave Pencil Co Inc MUS2215D Mystic Halloween Pencil 12Pk
$14.99 -
POM POMS ASST. CLRS. & SIZES
$5.69 -
Black Color Tissue Paper - 20 sheets per pack
$4.00 -
Spangler Dum Dum Pops, Assorted Flavors, Individually Wrapped, 300/Pack
$8.99
If you’re like me, Halloween comes at you like a Mack truck, straight on the heels of the madness of the start of a new school year. Just when you’re settling into a comfortable school/sports/work routine, BAM! It’s time to plan costumes, trick-or-treating, parties, and get creative with spooky food and crafts.
You don’t have to spend a lot of money or spend endless hours to create a fun holiday with your kids. I’m here to offer you super FAST, EASY, INEXPENSIVE DIY Halloween crafts that you can whip up using items you may already have on hand, or can buy quickly with a one-stop shopping trip.
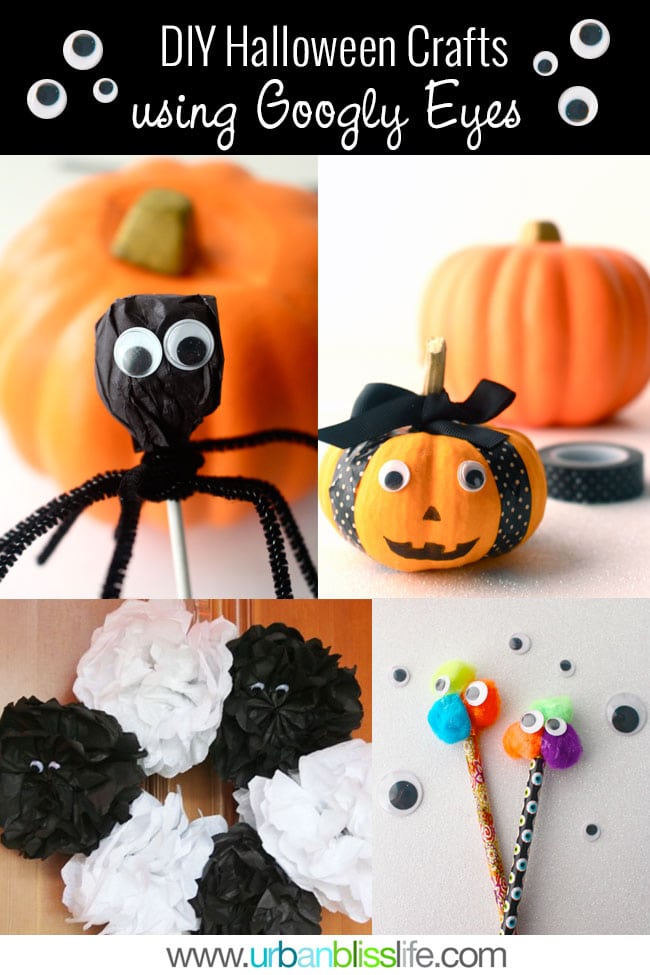
I’m kicking off my No-Freak Out Halloween Week with some fun crafts using a timeless, multi-faceted craft supply: GOOGLY EYES.
I love using googly eyes in kids’ crafts of all kinds. They can turn an ordinary decoration into a fun, silly treat!
These are all fast, easy crafts that you can do with your kids. The first three would be great to do as class party activities, and in fact, we’ll be doing a couple of them in my own kids’ class parties this year.
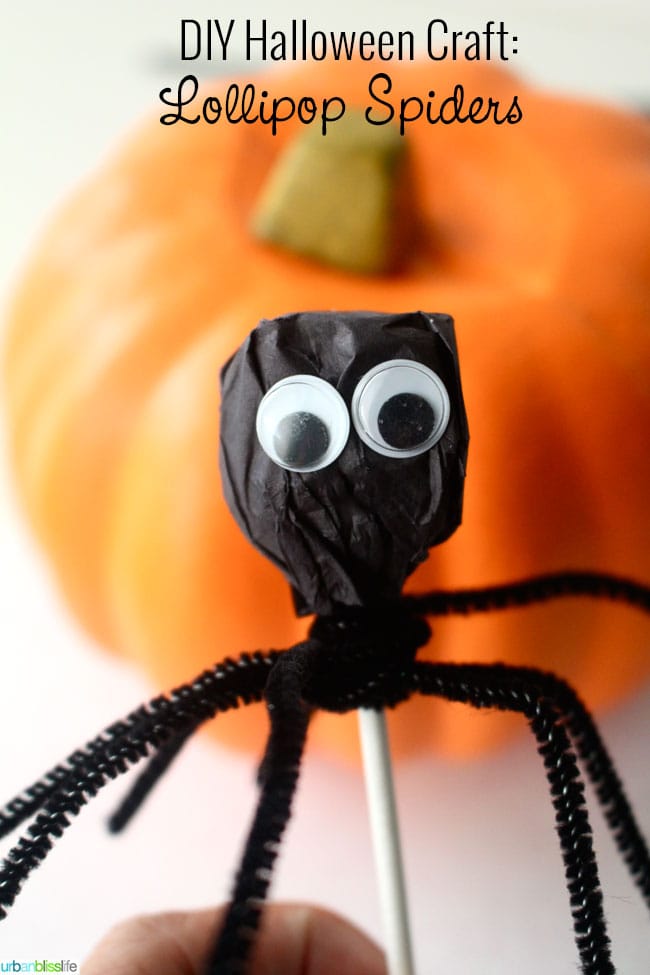
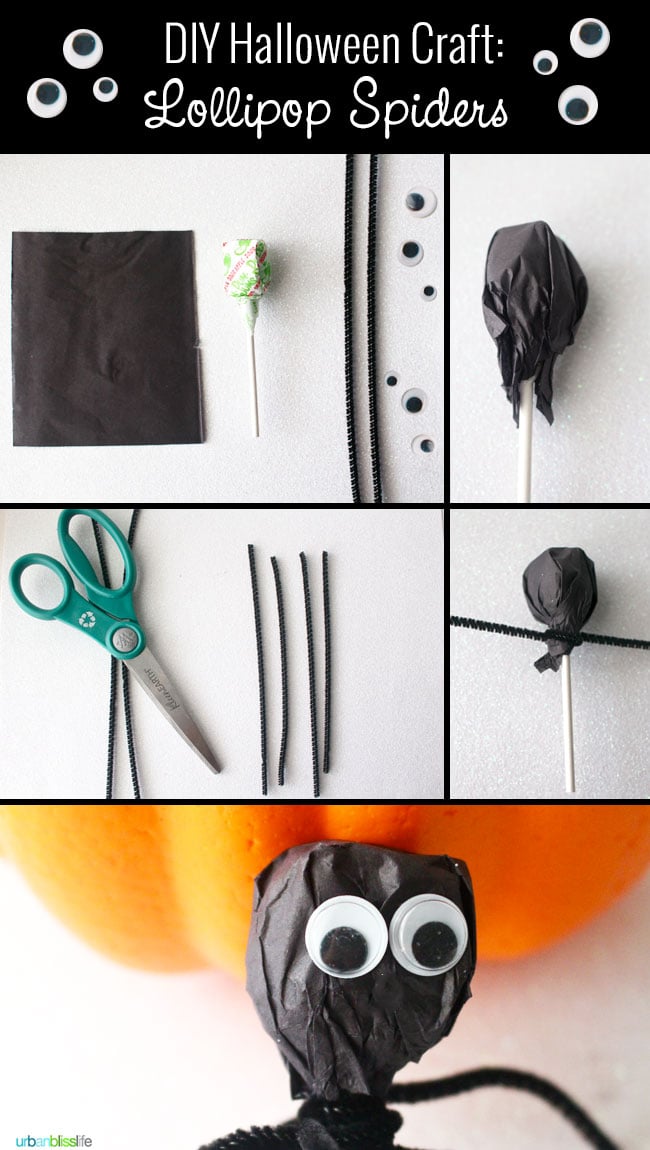
GOOGLY-EYED HALLOWEEN LOLLIPOP SPIDERS
I love this craft because at the end of the class party or after Halloween, kids can eat the lollipops. Any craft that has a second life after being an activity or party decoration is extra great in my book!
SUPPLIES:
Black tissue paper, cut into small 4″ squares
Black Pipe Cleaners, cut in half (4 pieces total per spider = 8 spider legs)
DIRECTIONS:
1. Wrap the lollipop with a square tissue paper.
2. Begin by wrapping one pipe cleaner around the base of the lollipop. Then wrap the other three around, making sure the ends of the pipe cleaners are spread out around the lollipop. You can help secure the legs by wrapping one pipe cleaner over another, or even tying each pipe cleaner strand into a knot as you continue to add more.
3. Using any craft glue (I use Tacky Glue), glue googly eyes to the “head” of the spider.
GOOGLY-EYED HALLOWEEN MINI PUMPKINS
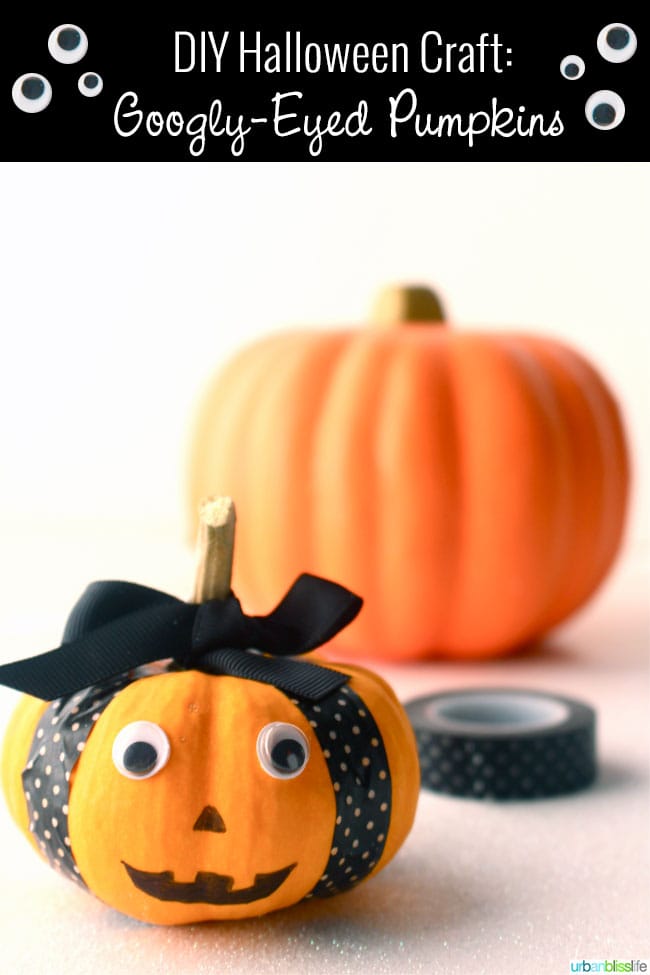
I love cute pumpkins. I’m not much for the gross, blood & gore type of pumpkin carvings. In fact, I’d much rather NOT carve pumpkins, but decorate them instead. Last year, my glitter obsession extended to pumpkin decorating, and this year I’ve got this simple but adorable idea for all of those sweet mini pumpkins you can’t help but pick up at your pumpkin patch or even the grocery store.
SUPPLIES:
Mini pumpkin
Washi Tape (I used this black & white polka dot washi tape)
Ribbon
DIRECTIONS:
There’s no right or wrong way to start this, so here’s how I made this pumpkin:
1. Begin by gluing the googly eyes to the pumpkin.
2. Cut strips of washi tape and tape from the stem to the base, spacing the tape strips out evenly around the pumpkin.
3. Draw a jack-o-lantern face on the mini pumpkin.
4. Tie a ribbon around the top for extra cuteness.
GOOGLY-EYED HALLOWEEN MONSTER PENCILS
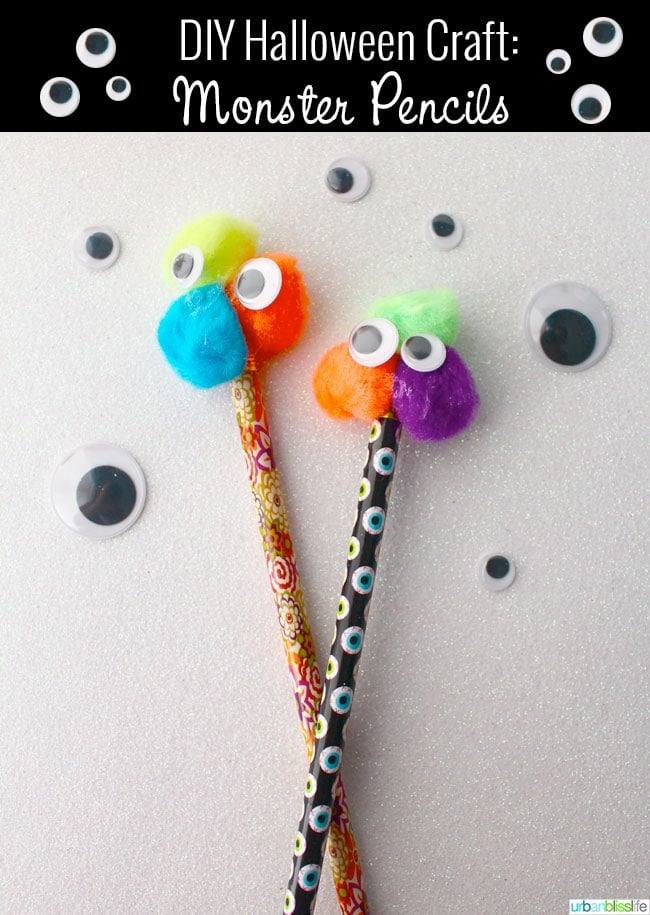
We’ve made versions of these DIY Halloween Monster Pencils for many holidays: Easter, Valentine’s Day, St. Patrick’s Day, New Year’s — this craft is versatile and can be the perfect rainy day activity for younger kids.
SUPPLIES:
DIRECTIONS:
1. You can either take the eraser part of the Halloween pencils off, or leave them on. It’s really up to you.
2. Glue 1-4 pom poms to the top of the pencil. Be sure to use a good amount of glue, and I suggest holding down each pom pom down when gluing to help it adhere better.
3. Glue googly eyes to the pom poms. You will again have to hold the googly eyes against the pom poms after gluing to ensure they adhere properly.
4. Feel free to embellish with ribbon, pipe cleaners, and glitter.
5. Allow glue to dry completely.
GOOGLY-EYED HALLOWEEN TISSUE PAPER WREATH
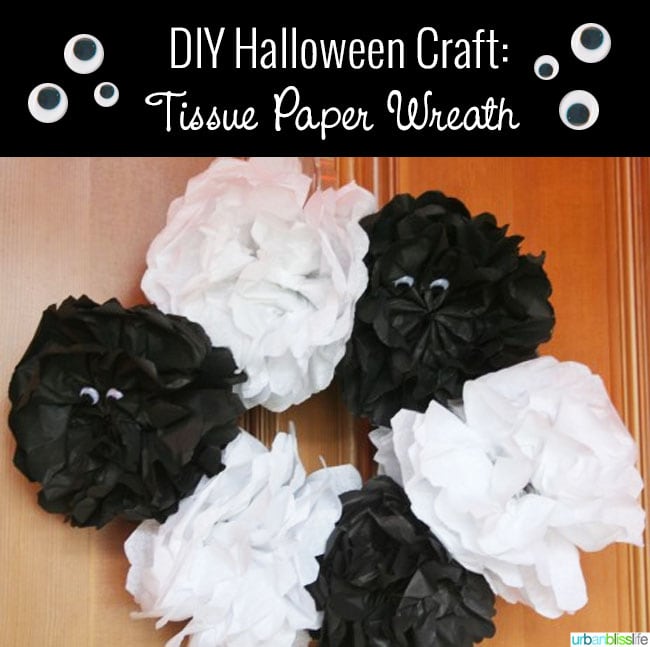
If you’re in need of a Halloween wreath to greet trick-or-treaters this year, try this simple Tissue Paper Pom-Pom Halloween Wreath.
I love making tissue paper pom-poms for parties and pretty much every holiday. They’re so versatile, and easy to make! If you want to save time, you can easily purchase pre-made tissue paper pom-poms instead of making them. I thought I had a pom pom tutorial on my site, but to my surprise, I never did one…DOH! I’m adding it to the list of future tutorials. In the meantime, here’s a tutorial from HGTV on How to Make Tissue Paper Pom-Poms.
SUPPLIES:
Black and white tissue paper pom-poms
DIRECTIONS:
1. Glue, tape, or tack on tissue paper pom-poms to foam wreath. I like to alternate colors, but you can also do half in white, half in black, or even throw in some orange or purple tissue paper pom-poms for more color.
2. Using craft glue, gently glue googly eyes to each pom pom. I glued two eyes to each of the black tissue paper pom-poms, but you can glue a dozen to each if you’d like!
3. Allow glue to dry completely before hanging as a door decoration.
These were so much fun to put together, and I will admit: part of the fun was in the fact that these took just a few minutes each to make! There are so many other Halloween crafts you can make using googly eyes.
What Halloween crafts are you making or have you made this season?
This post is sponsored by Rakuten.com. All opinions and photos are, as always, my opinion.
Post by
Urban Bliss Life


